Part 2: Preparing the Setup
2.1 Docker Environment Overview
Architecture
The tutorial environment consists of a single Docker container that acts as a virtual machine. Inside this container, all required software is pre-installed.
A local directory on your host machine is mounted into the container as a bind-mount volume. This directory — typically named docker_cluster/shared/shared/ — is linked to ~/shared/ inside the container. Any files you create or modify inside this path (source code, compiled binaries, output logs, configuration files) persist on your host even after the container is stopped or removed.
Everything outside this volume is ephemeral. Software installed in /opt/, /usr/local/, or system paths lives only for the lifetime of the container. If you delete the container and start a new one from the same image, those paths are restored to their original state. This means you can always reset the environment to a clean baseline simply by recreating the container.
Dependencies
All the required dependencies shuld be satisfied automatically.
However, the dependencies used by the complete framework are listed here:
- GCC >= 4.9
- PAPI
- GNU Linear Programming Kit
- MPI MPICH distribution > 4.0
- mercury
- argobots
- json-c
- margo
- redis
- hiredis
- slurm > 24
Why This Environment?
This tutorial uses Docker to provide a fully self-contained environment with MPI, FlexMPI, and all dependencies pre-configured. Docker eliminates the complexity of installing HPC libraries natively across different operating systems and guarantees that every participant runs identical software regardless of their platform. Furthermore, it eliminates the need for accounts or access to real HPC clusters, which could be a problem during the development of this tutorial, and would require a continuously stable internet connection.
It also makes cleanup simple: when the tutorial ends, simply remove the container and nothing remains on your machine. This reproducibility lets us focus on malleability concepts rather than troubleshooting environment inconsistencies.
2.2 Building the Docker Image
Step 1: Understanding the Dockerfile
The Dockerfile uses a multi-stage build pattern to separate the heavy build process from the final lightweight execution image.
- Stage 1: Build & Compilation
- System Tools & Dev Libraries: Installs essential compilation tools.
- Download dependencies
- Extraction & Compilation: Unpacks, configures, compiles (make), and installs all downloaded tools into /usr/local.
- Stage 2: Final Runtime Image
- Runtime Dependencies: Installs runtime tools and system dependencies.
- Copying Compiled Libraries: Copies the pre-compiled binaries and libraries from stage1 (/usr/local) directly into the final image.
- Service Configurations: munge, slurm and redis.
- User Provisioning & SSH Setup
- Container Entrypoint: Copies docker-entrypoint.sh to the root directory and assigns it as the container’s entrypoint to manage startup processes when the container runs.
Step 2: Download and Build
Download the docker files from this link.
Open a shell terminal, unzip the tarball and create the docker cluster using the script.
# Go to the Downloads folder (or the folder that contains the tarball)
cd ~/Downloads
# Unzip the tarball provided
tar zxvf tutorial_cluste_26-04.tar
# Go into the folder
cd tutorial_cluste_26-04
# Execute the build and launch script: in this case, 3 nodes with 3 cores each.
./launch-slurm-cluster.sh -n 3 -c 3 -d
Step 3: Verification
After step 2, the container should be running and it is accessible by terminal.
# Access the desired node: open a console to a cluster <cluster_name> node <num_node>
docker exec -it <cluster_name>-node<num_node> /bin/bash
Now, the user can use the system like a real machine with an Ubuntu OS installed.
2.3 User Interface Setup
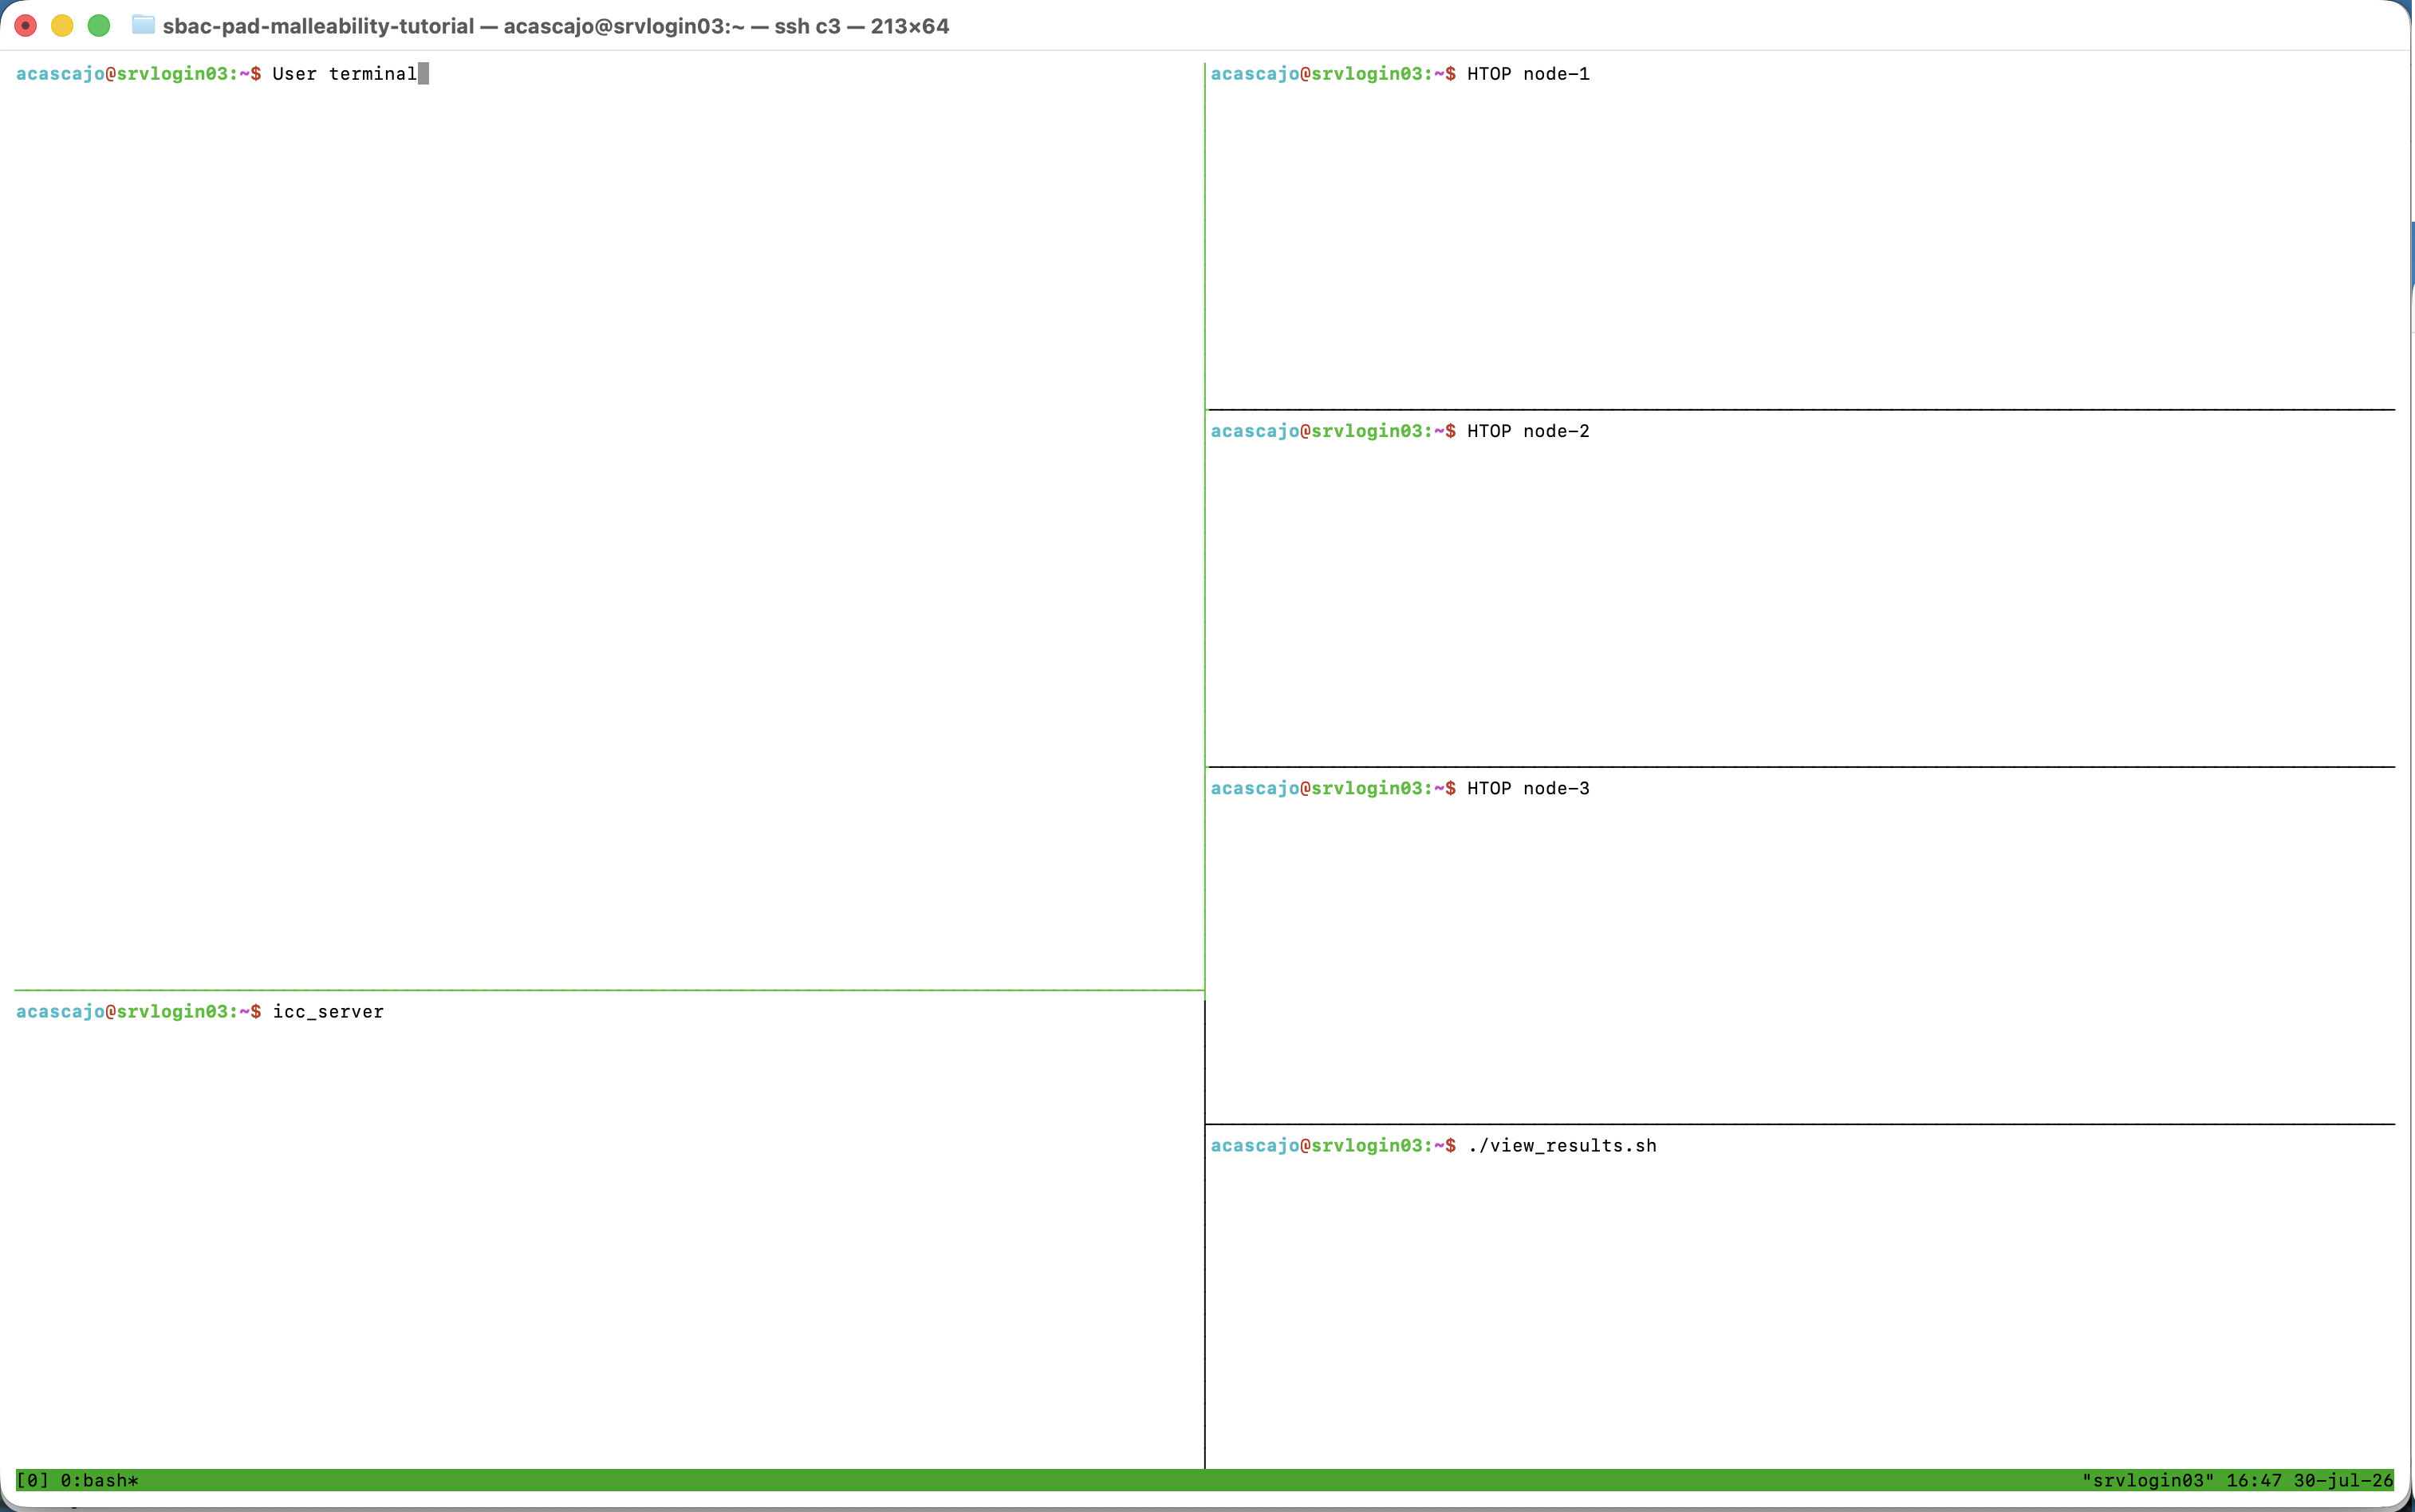
For the proper execution of this tutorial, a series of terminals are provided by default to view and understand what is happening in each node at all times. It is not necessary to follow all the steps for successful execution, but it is recommended to verify that all processes are created and destroyed in real time as expected.
Terminal Layout and Workspace
In order to see what happens in the system, we recommend oppening 6 terminals.
- Monitoring terminals: Open a console to each cluster node
and run monitor (htop)
# Terminal for node-1
docker exec -it cl-node1 /bin/bash
htop
# Terminal for node-2
docker exec -it cl-node2 /bin/bash
htop
# Terminal for node-3
docker exec -it cl-node3 /bin/bash
htop
- Monitoring Slurm queue: Open a console and run slurm view script. It shows the slurm queue and refreshes the information every one second.
docker exec -it cl-node1 /bin/bash
./shared/view_results.sh
- Intelligent Controller server: Open a console and run the ic_server, that interacts with the applications and Slurm.
docker exec -it cl-node1 /bin/bash
icc_server
- User terminal: Open a console to interact with the system.
docker exec -it cl-node1 /bin/bash
# Run whatever you want
Proposed layout
Testing the Connection
Establish an SSH connection between the different nodes to check that they are online, and run some test command (e.g., ping).
# In the user terminal
ssh node2
exit
ssh node3
exit
sinfo